


Seasonal Craft Ideas
Christmas Craft Ideas
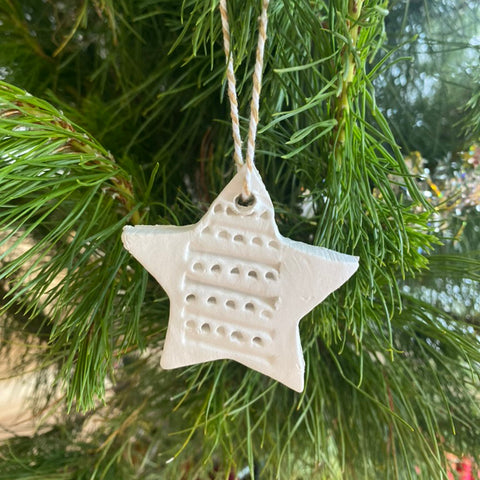
Air-Dry Clay Christmas Ornaments
Air Dry Modelling Clay is fun and easy to use, and making ornaments for gifts, decorations, or table settings is a lovely festive craft activity the whole family can enjoy.
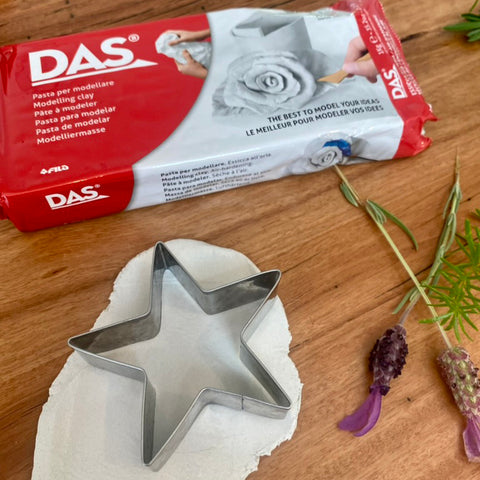
The only materials you will need to make your own beautiful Christmas Ornaments are;
• Das Air-Dry Modelling Clay
• Rolling pin or glass bottle
• Baking paper/ wax paper
• Cookie Cutter Shapes
• A selection of items to make patterns
• String or ribbon.
It helps to put down baking or wax paper on your counter or surface before rolling out your clay so that it doesn't stick.
Break off a section of the modelling clay, roll it into a ball, and then roll it out using your rolling pin or jar. Try to achieve an even thickness of approx 8mm, then use your cookie cutter to cut out the shape.
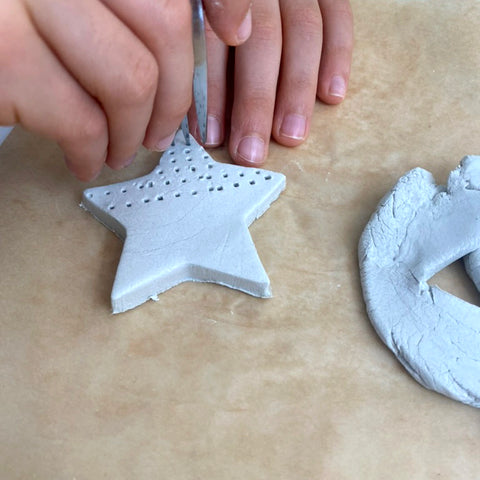
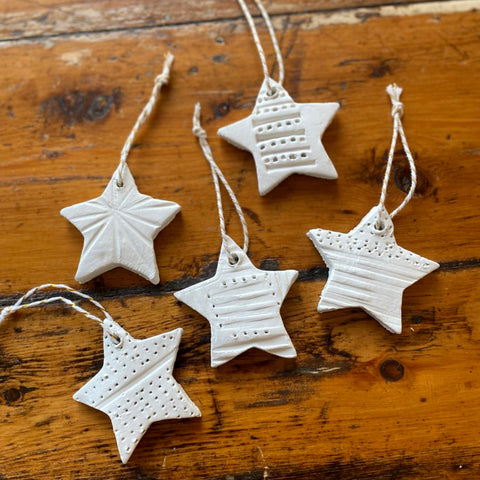
The possibilities for making patterns on the surface of the clay are endless. We used a fork and wooden skewer to make dots and dashes on our Stars, but you could use leaves, lace, string, or even scrunched-up paper!
Make a hole at the top of your ornament with a metal straw or pencil, then lay flat to dry on the baking paper overnight.
Once completely dry, use the string or ribbon to create loops through the ornament hole.
*


Hand-Rolled Beeswax Candles
Make your own hand-rolled beeswax candles to give as beautiful handmade gifts or to decorate your Christmas table. For these spiral candles we have used the Beeswax Foundation Sheets, cut on a diagonal, rolled into shape and then added thin strips of Metallic Decorating Wax Sheets to accentuate the spiral design, but the decorating possibilities are endless! Making your own candles is a wonderful, simple and fun seasonal craft activity to do with children.
*
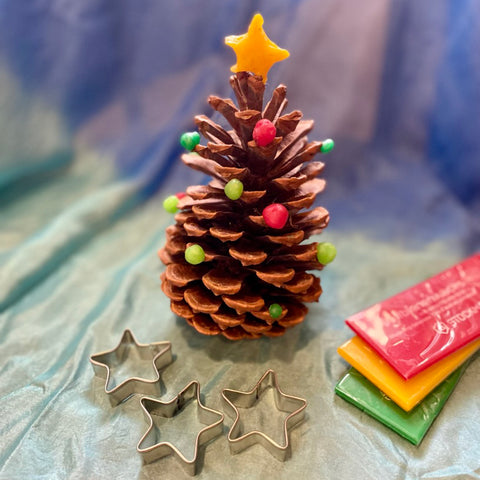
Pinecone Christmas Tree with Beeswax Baubles
A simple, nature-inspired craft idea that even very young children can make! A festive decoration for your Christmas celebrations. All you need are locally collected pinecones, modelling beeswax in festive colours, a mini star cookie-cutter to create the big star on top, or it can be hand-modelled yourself!
*

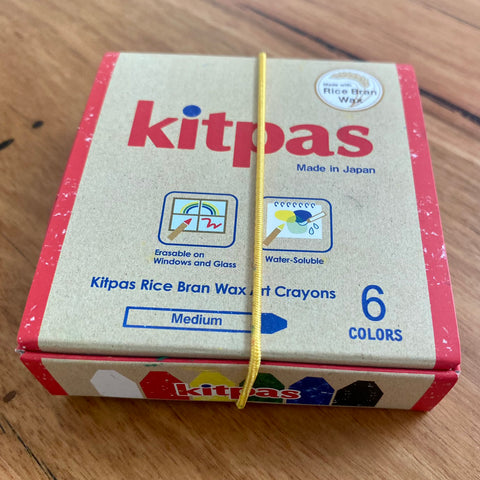

Decorate your windows using Kitpas Crayons!
This is a fun activity everyone is sure to love! Kitpas are a soft, pastel-like crayon that is made from natural rice bran. They can be used to draw on multiple surfaces incuding windows and mirrors and wipe off cleanly with a dry or wet cloth. Unleash your creativity and have fun decorating your windows to celebrate the Season!
*

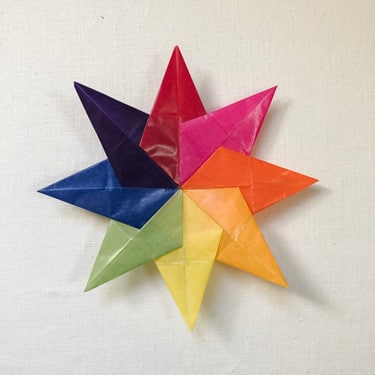
Kite Paper Window Stars
Brighten your windows at any time of year with Rainbow Window Stars!
This is a fun activity that children love to get involved in and enjoy the beauty that these decorations bring. All you need to get started is;
• Waxed Kite Paper
• Glue
• Scissors
You can find a magical collection of Window Star diagrams and instructions in the book Crafting Magical Window Stars
Or you can find a simple Waldorf Window Star tutorial here
*
Autumn / Easter Craft Idea


Wet-Felted Pebble (Easter) Eggs
How to wet-felt eggs:
Wet-felting is a beautiful tactile craft activity that even little hands can enjoy. These wet-felted pebble (Easter) eggs are lovely to decorate your Easter Nature Table or perhaps even hidden in your garden as an alternative to chocolate eggs for the Easter treasure hunt. The only materials you need to make your own wet-felted pebble eggs are;
• Coloured wool fleece
• Egg shaped pebbles
• A bowl with hot water
• A bowl with cold water
• Liquid dish soap
Wrap pieces of wool fleece tightly around the pebble in one direction, then wrap another layer of fleece in the opposite direction. Add 3-4 layers of fleece until you have a thick layer covering the pebble.
Dip the fleece covered pebble into the hot water, then add a few drops of the liquid soap to the egg. Very gently pat and roll the egg in your hands as it starts to felt. When the fleece begins to felt and get tighter, dip into the cold water (the cold water helps to shrink the wool fleece).
Keep adding more soap and rubbing and pressing the egg and continue the process of dipping into the hot water then cold until the egg feels solid and all the wool fleece has firmly felted together.
Rinse, squeeze out excess water then leave to dry on a towel overnight.
*
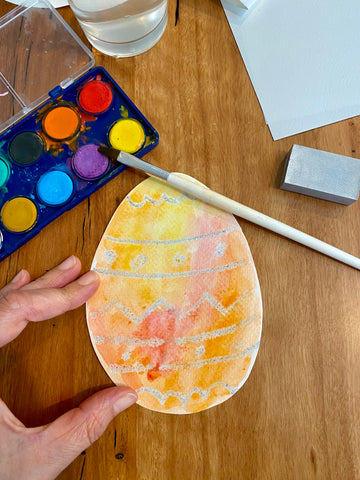
Wax-resist watercolour Easter Eggs:
This is a simple and beautiful craft activity to decorate your home or Nature Table for Easter. Children of all ages will enjoy decorating the Easter Eggs with their own designs and colour combinations.
Materials you will need:
• Thick Watercolour Paper
• A white or coloured Beeswax Crayon (we used metallic silver)
• Watercolour Paints
Simply cut the watercolour paper into egg shapes. With the beeswax crayon, draw designs onto the paper. Then wash over your crayon drawing with the watercolour paints and watch your design shine through!
Or, for a bit of magic, use a white crayon to draw secret designs onto the egg and then let your child magically reveal them when they begin to paint!
*
Spring Craft Idea

Gumnut & Flower Gnomes are a simple craft idea that are easy to make and look gorgeous decorating your Spring Nature Table. All you need are locally collected gumnuts and flowers, modelling beeswax in spring colours and imagination!


*

Leave a comment